
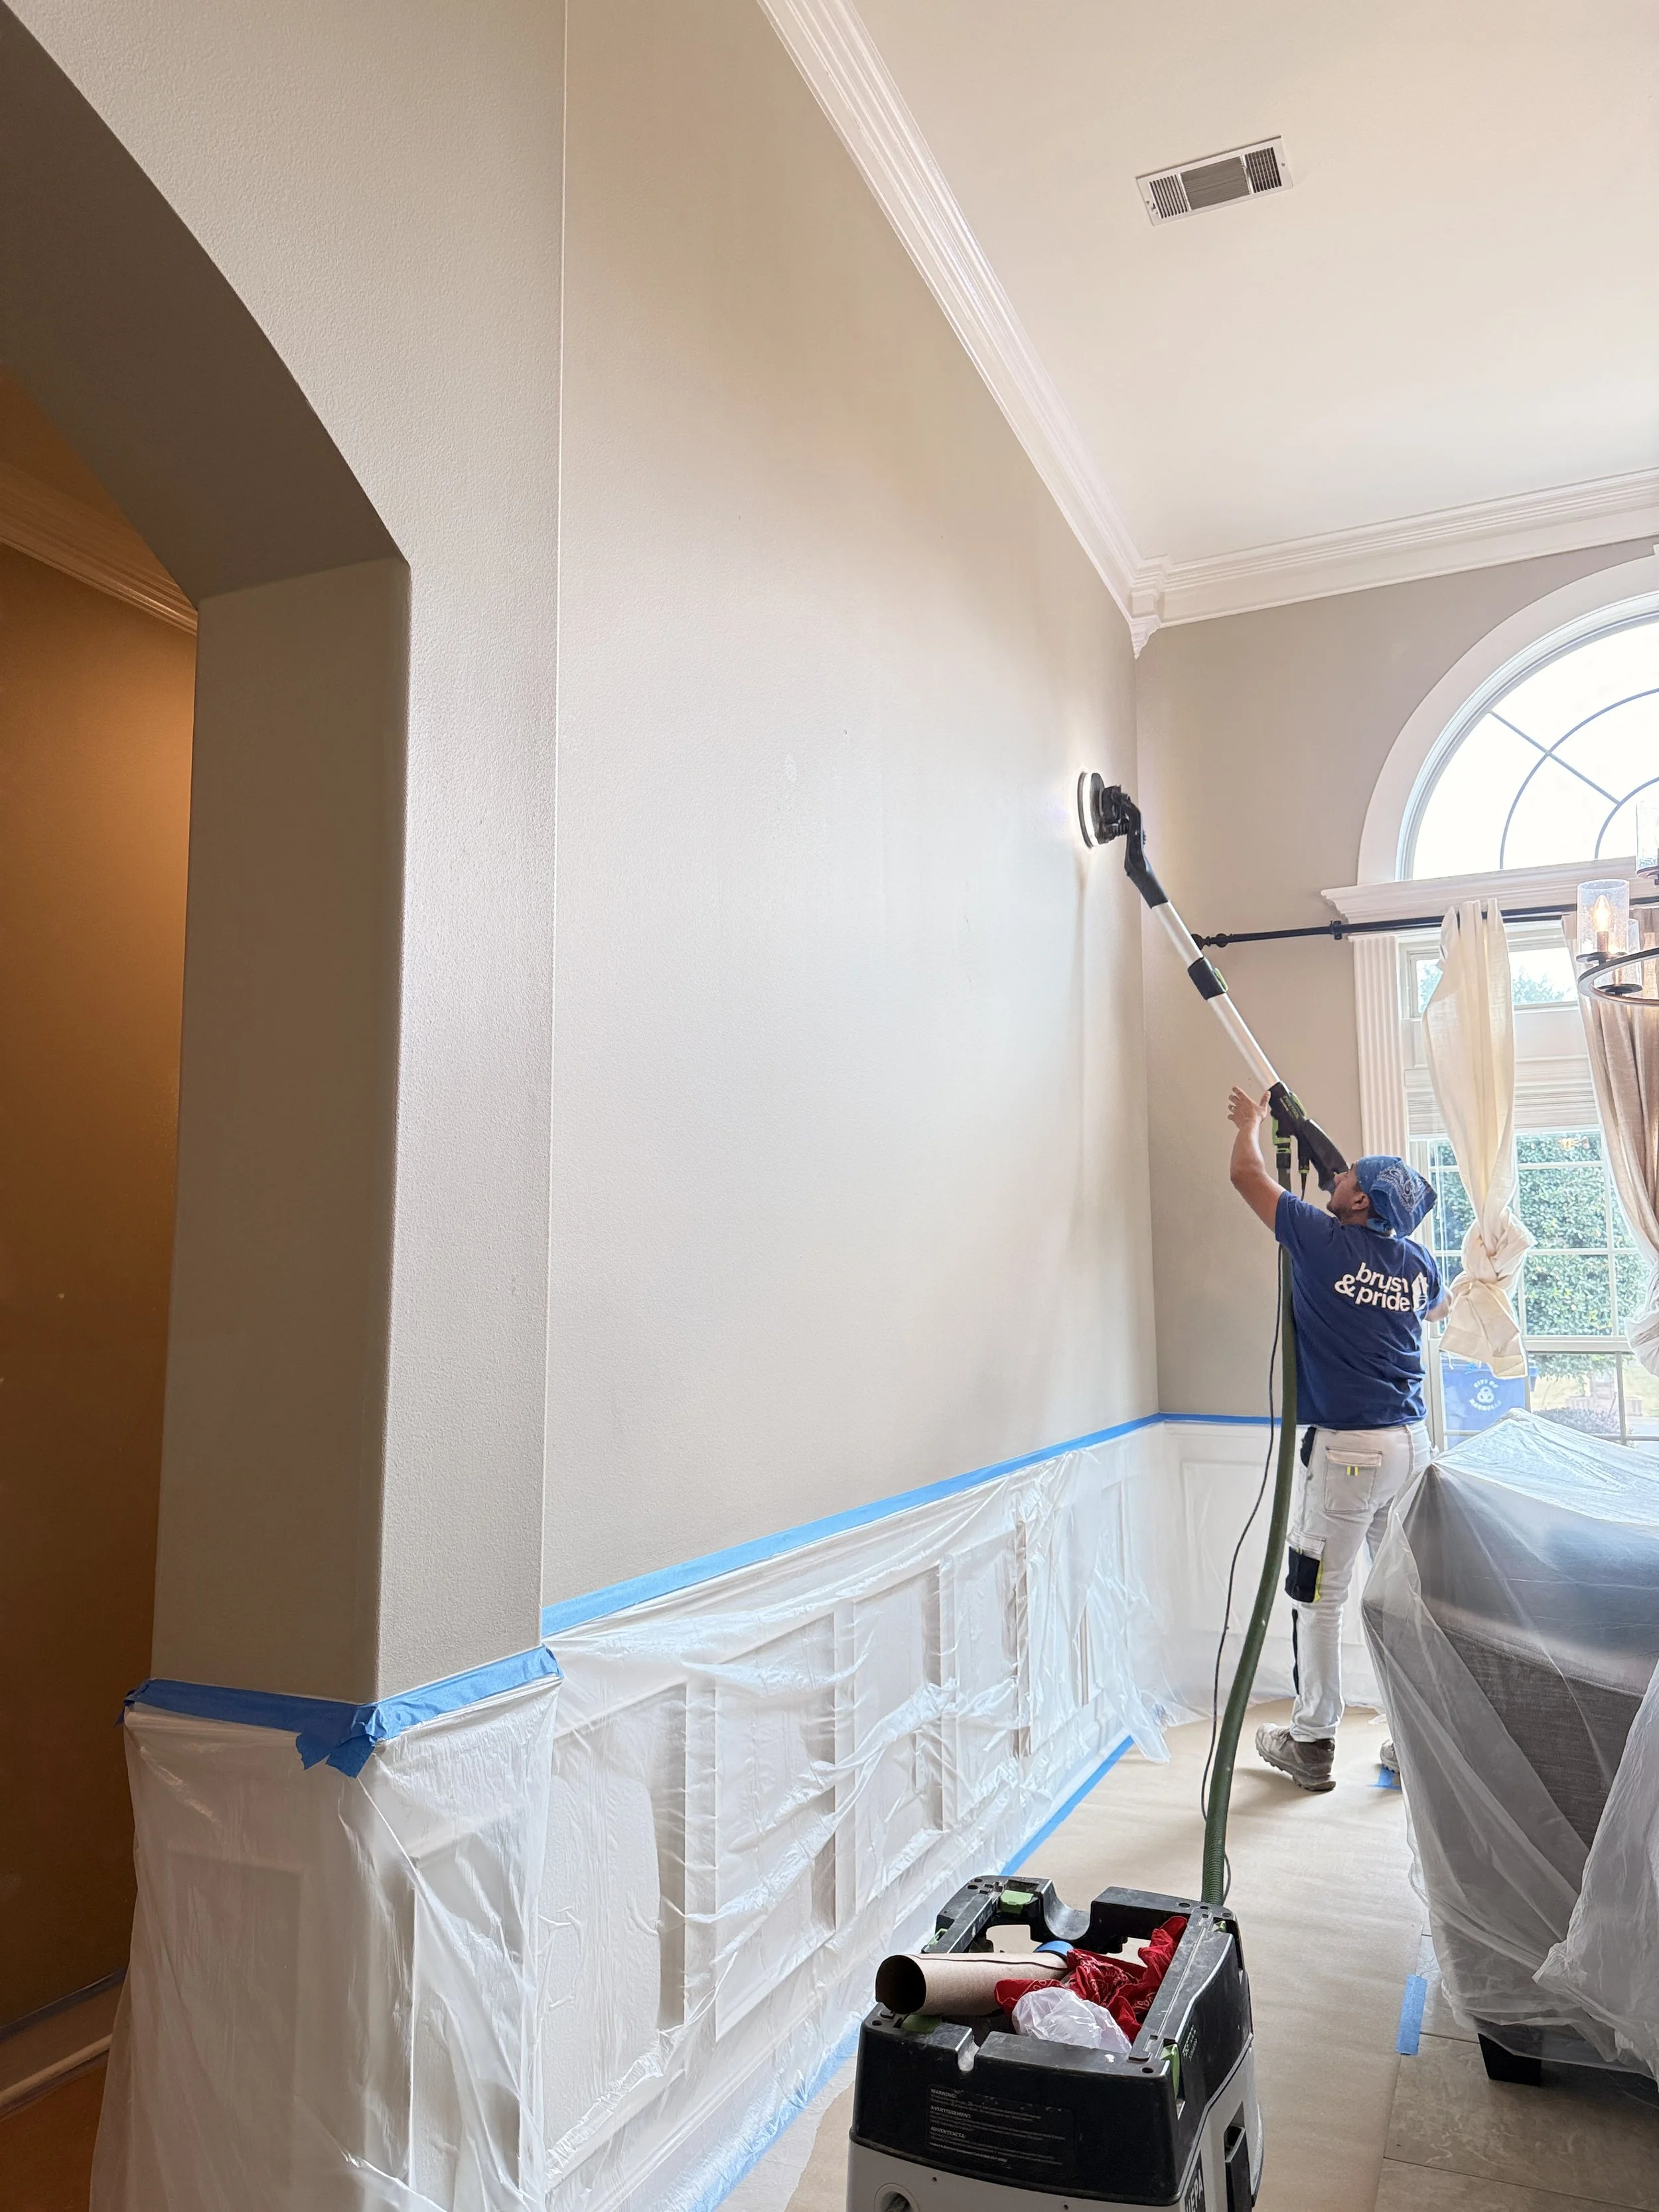
Dents, nail holes, cracks, and gaps need to be repaired, sanded smooth, and primed before any finish coat goes on. Paint doesn’t hide damage. A fresh coat usually makes it easier to see, because new paint catches light across every flaw underneath.
That’s why most of the work in an interior repaint happens before the paint can is opened. It’s also why a repaint can look new for years or look tired within one season.
Why Prep Matters More Than the Final Coat
Paint is a thin film. It follows whatever surface it’s applied to, so a rough patch, a proud nail head, or an open caulk line shows through. Good prep makes walls, trim, and cabinets stable, smooth, and consistent, so the finish coats can do their job.
In Central Arkansas, humidity and seasonal temperature swings keep older homes moving. Joints open, caulk lets go, and small cracks return. Prep done correctly accounts for that.
From Scars to Seamless: Repairing Drywall
Every drywall repair follows the same sequence, and each step matters:
Find everything. We look at walls in raking light, which shows dents, ridges, and old patches that normal room light hides.
Fix the cause first. A crack or stain is a symptom. If there’s moisture behind it or movement in the structure, painting over it will not hold.
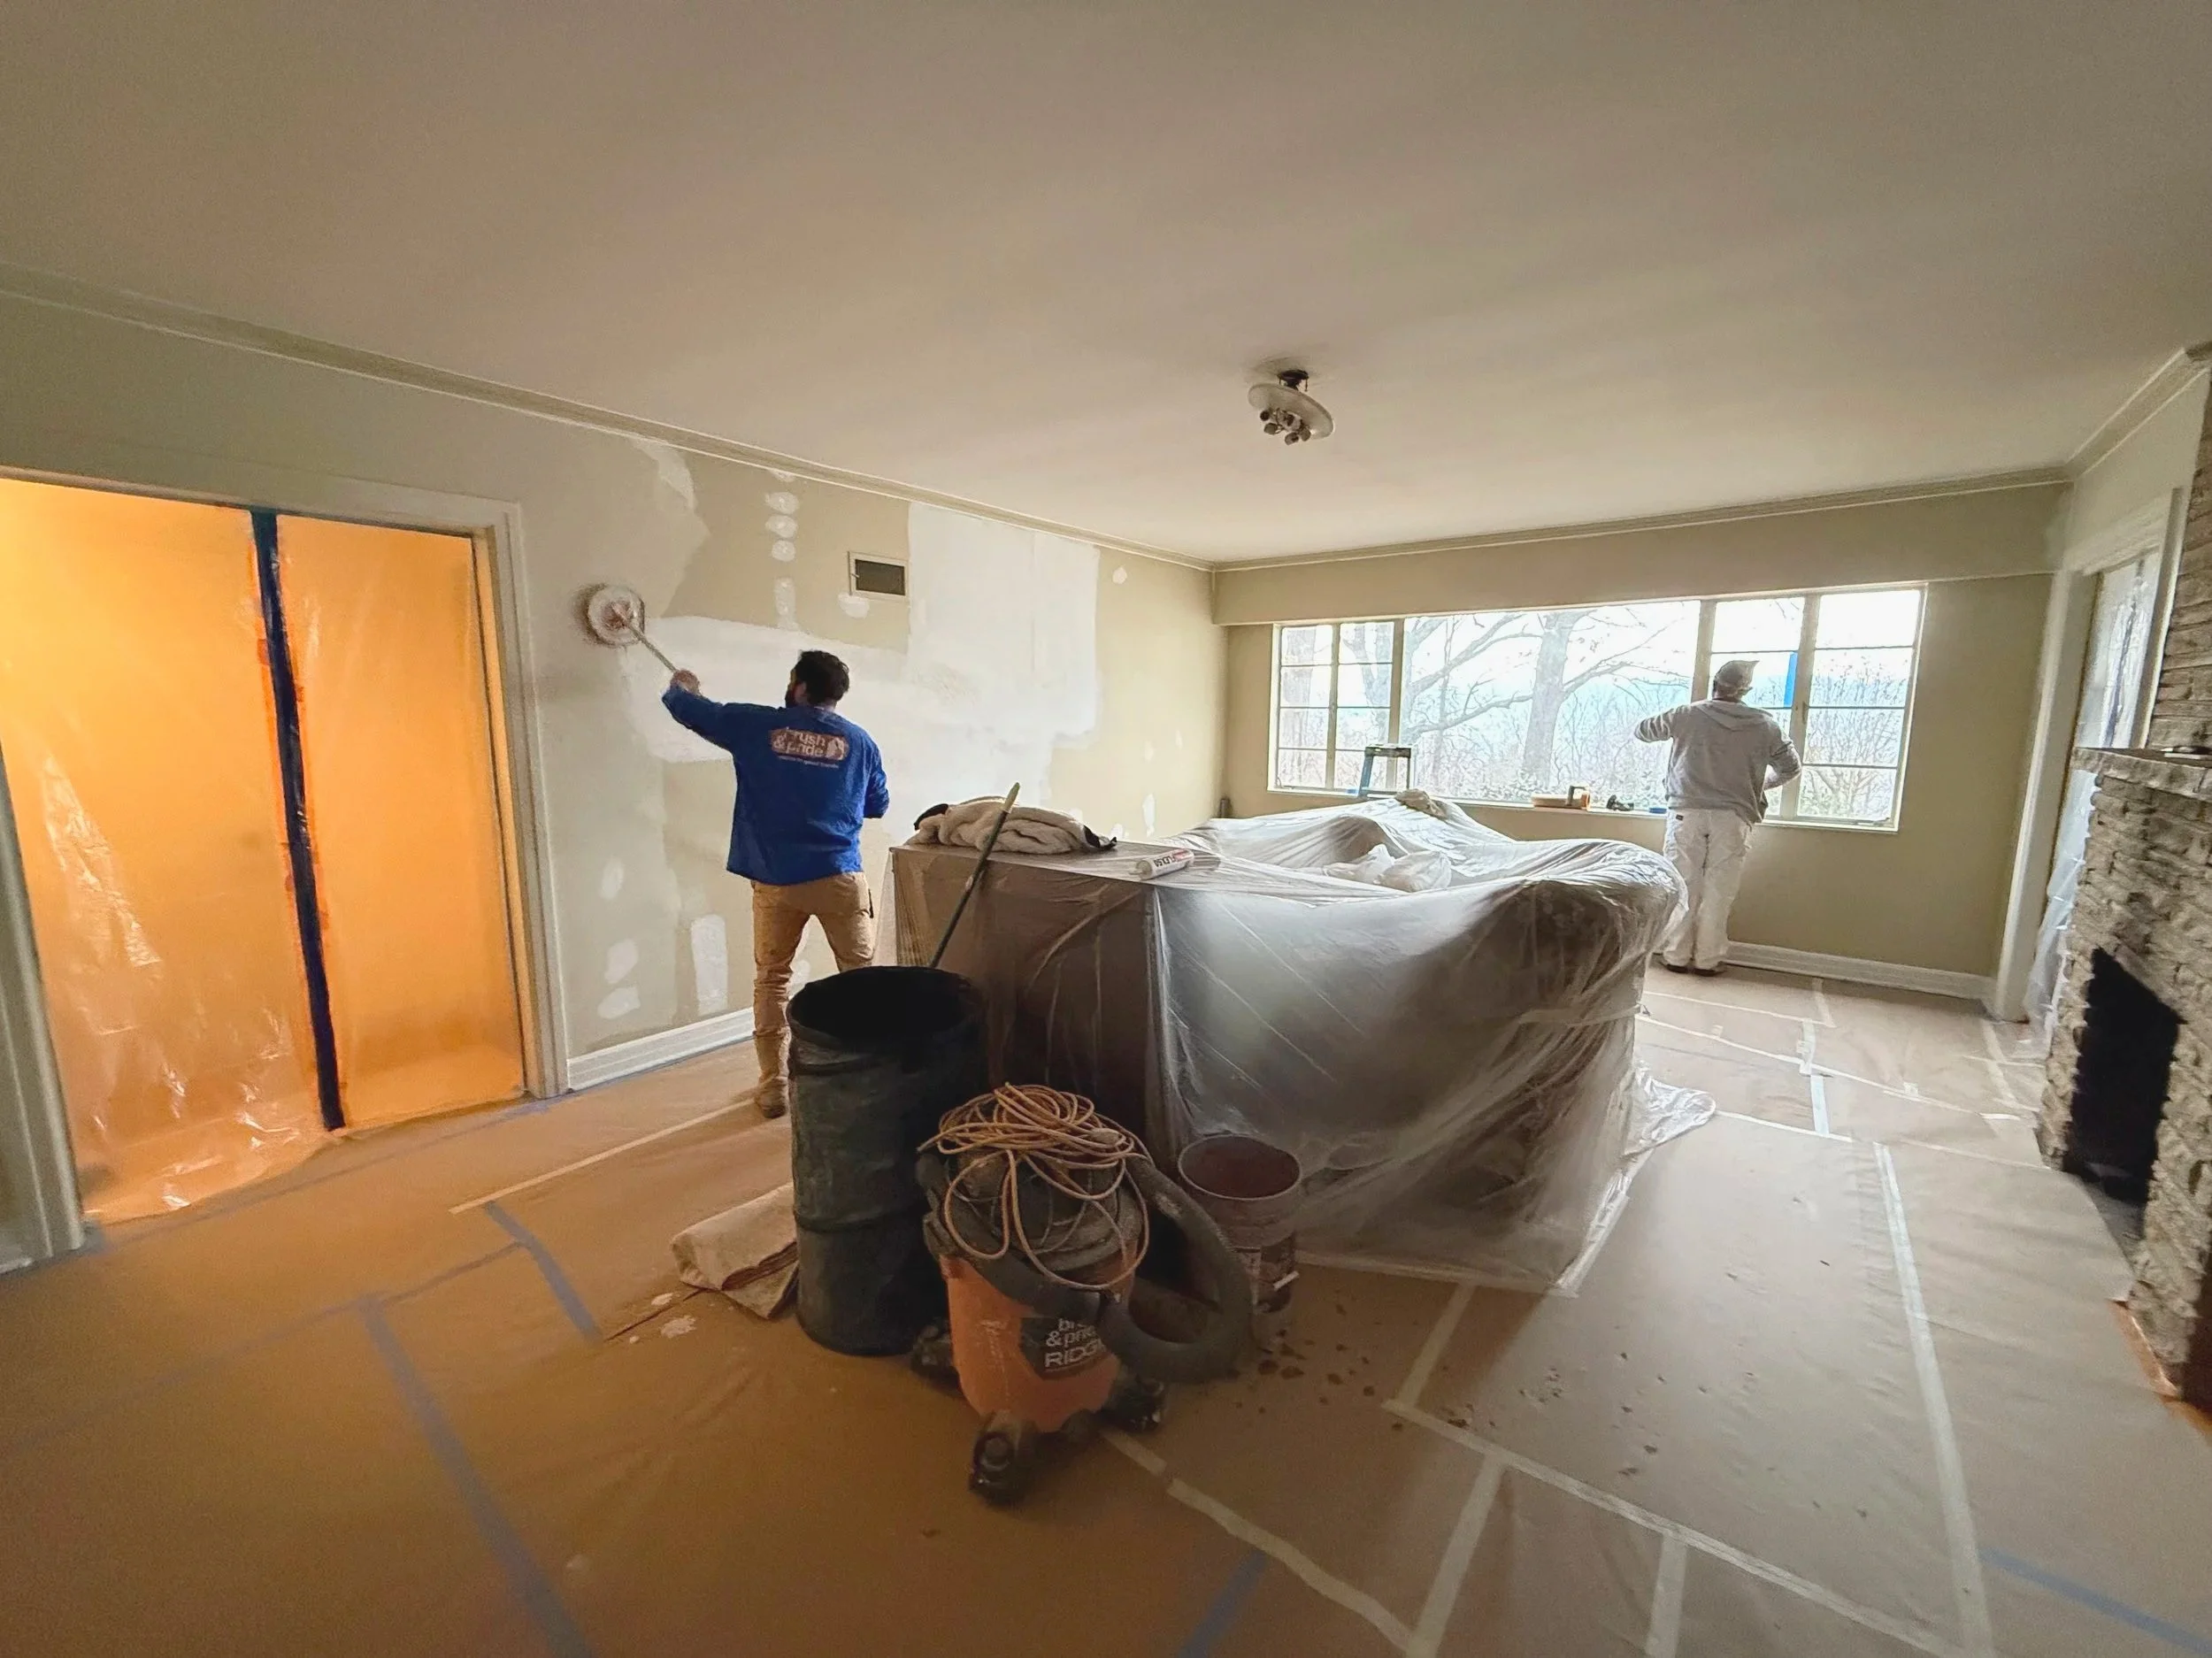
Fill and feather. Nail holes, dings, and cracks are filled, then feathered so the repair disappears into the surrounding wall.
Match the texture. A smooth patch on a textured wall shows. Repairs need to match the surface around them.
Sand lightly. The goal is a flat surface and clean edges, without sanding through the paper or leaving dust behind.
Prime the surface. Repairs absorb paint differently than the surrounding wall. Priming evens that out, so the finish coats look uniform rather than blotchy.
Preparing Trim and Woodwork
Trim shows every shortcut, because it sits at eye level and is judged up close. Prep includes:
Filling nail holes and dents with the right filler.
Re-caulking the joint between trim and wall, so gaps don’t open later.
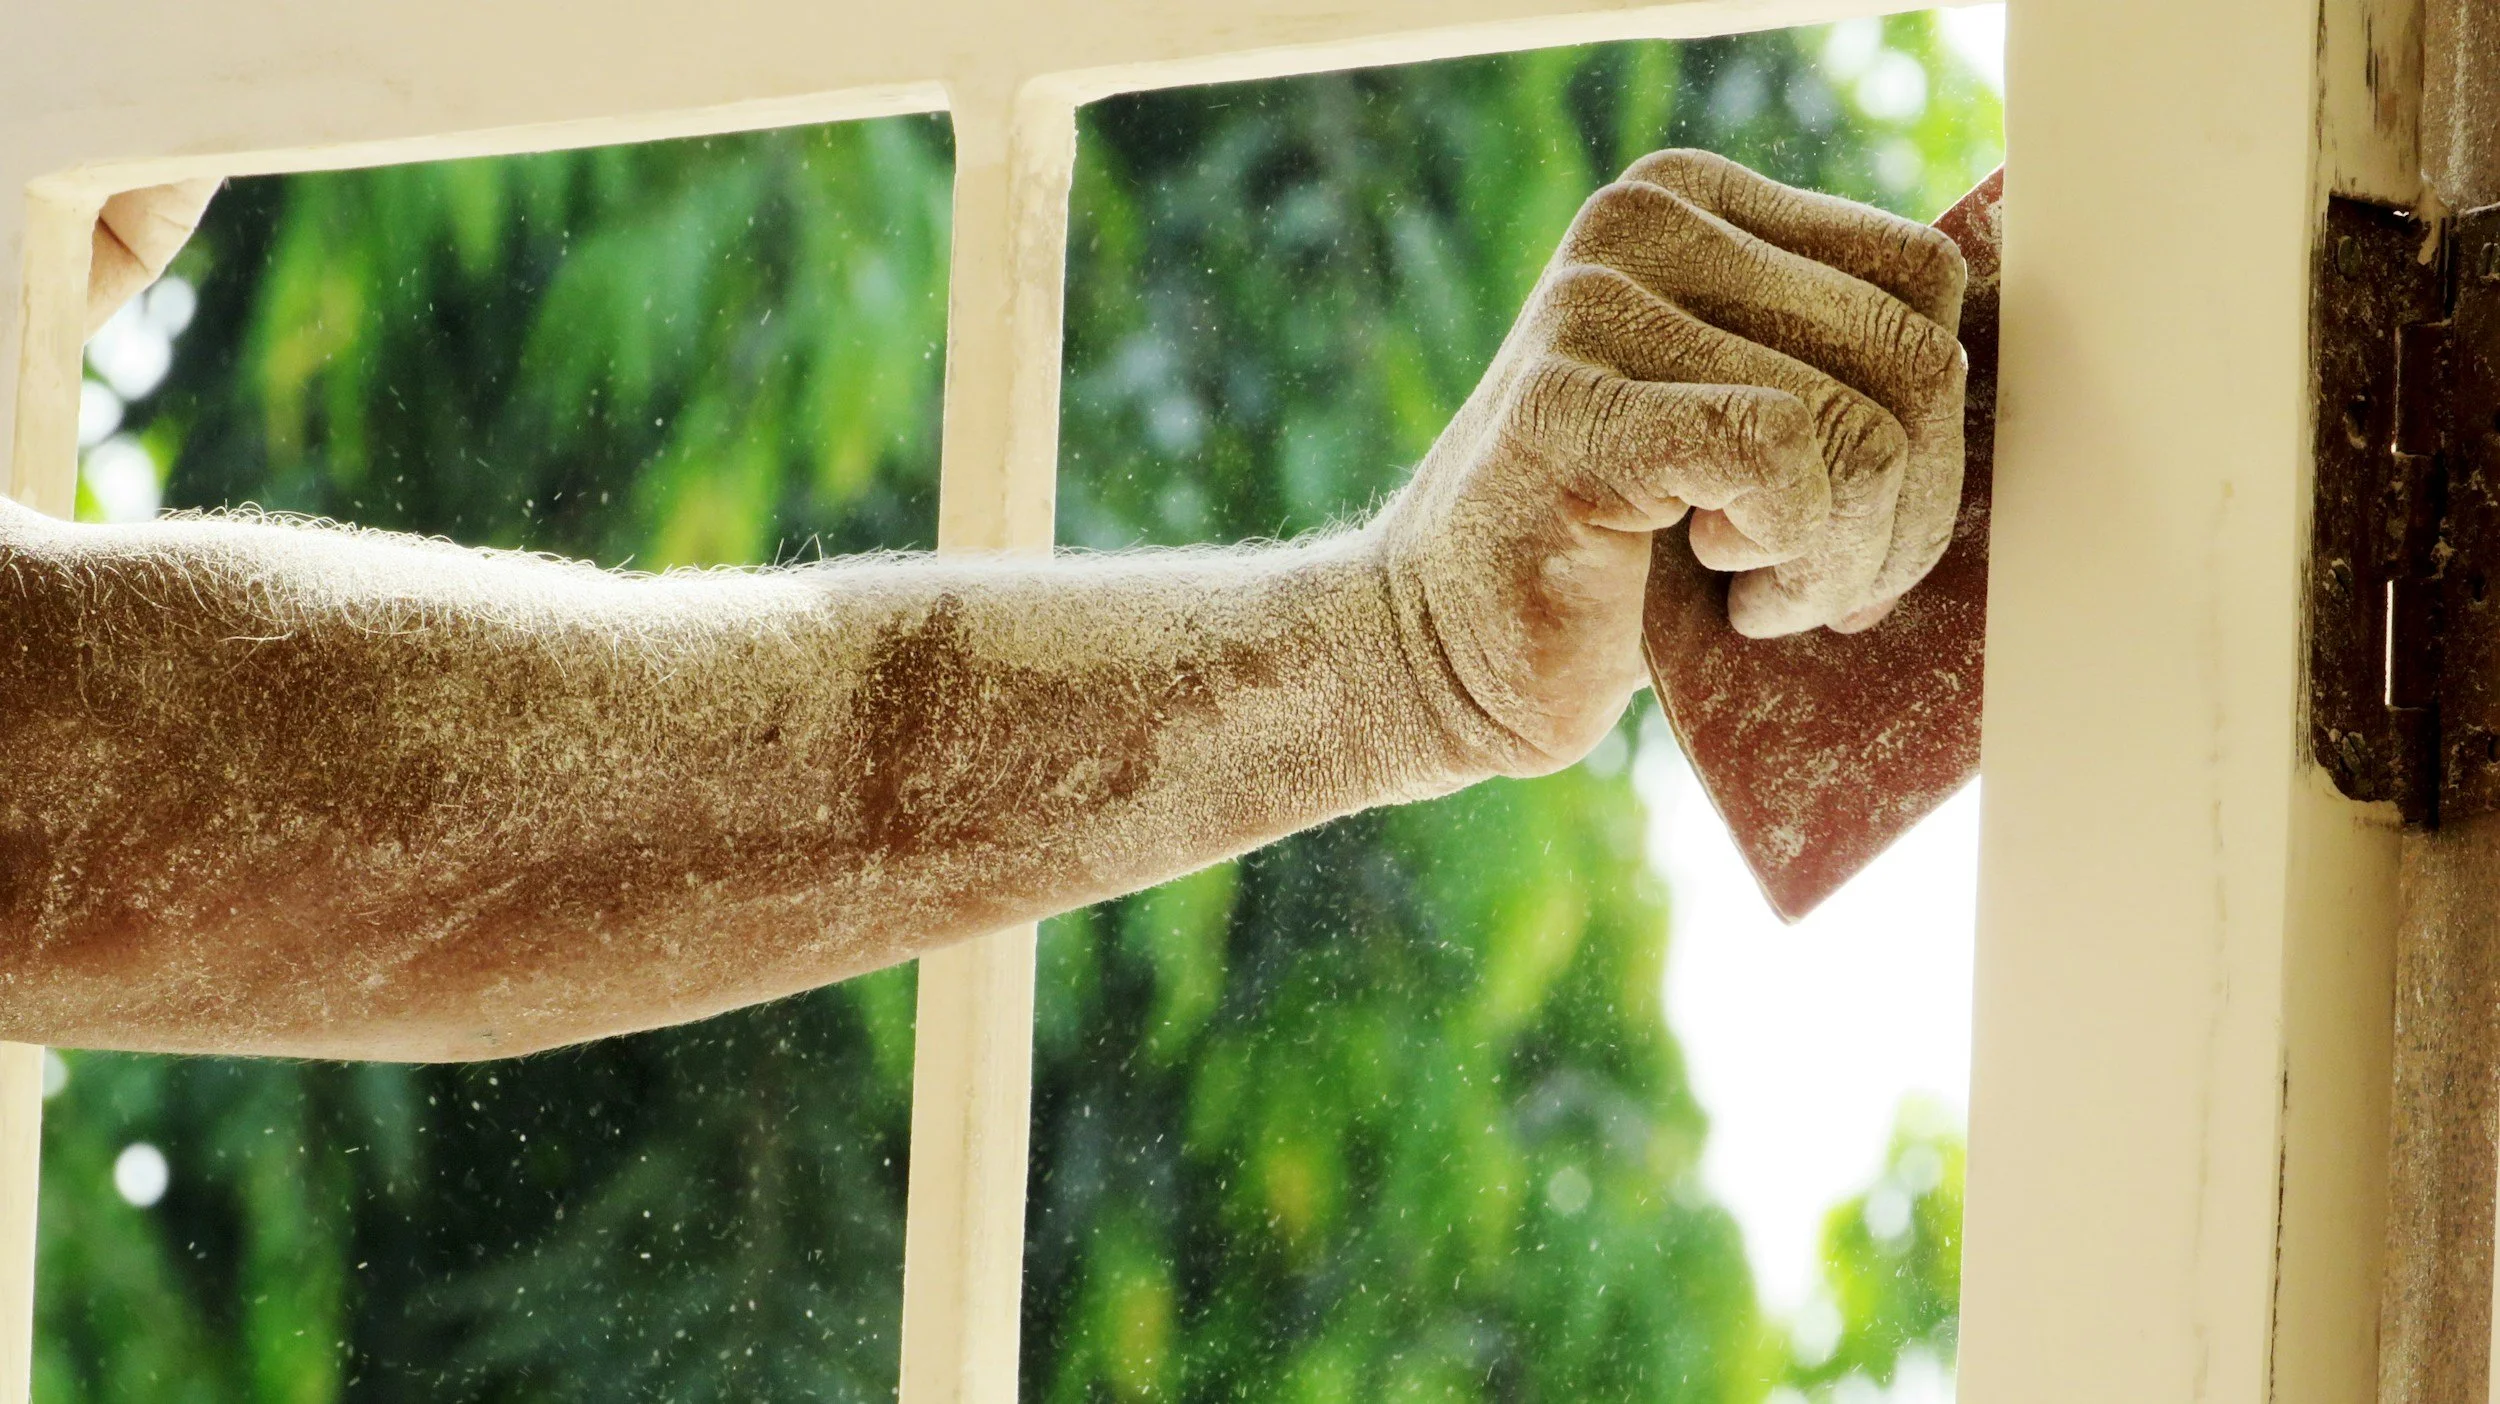
Sanding to a consistent profile, so the new finish bonds.
Cleaning off grease, residue, and dust before primer.
Historic woodwork gets more care. In older Central Arkansas homes, the trim is often original, and our approach is to restore original woodwork rather than replace it, protecting intricate profiles through sanding and repair. In homes built before 1978, we use lead-safe work practices, and Brush & Pride is EPA lead certified.
Preparing Kitchen and Bath Cabinets
Cabinets get the same logic with one added step. Years of cooking and handling leave grease and residue on the surface, and paint won’t hold on top of it. Cabinet prep means:
Degrease thoroughly. Grease and grime are the most common reason cabinet paint fails, so cleaning comes first.
Repair damage. Dings, chips, and worn edges are filled and sanded flush.
Sand to create a profile. A scuffed, even surface gives primer something to grip.
Use a bonding primer. Cabinets are often glossy or finished in oil-based paint, and a bonding primer bridges the gap between the old surface and the new finish.
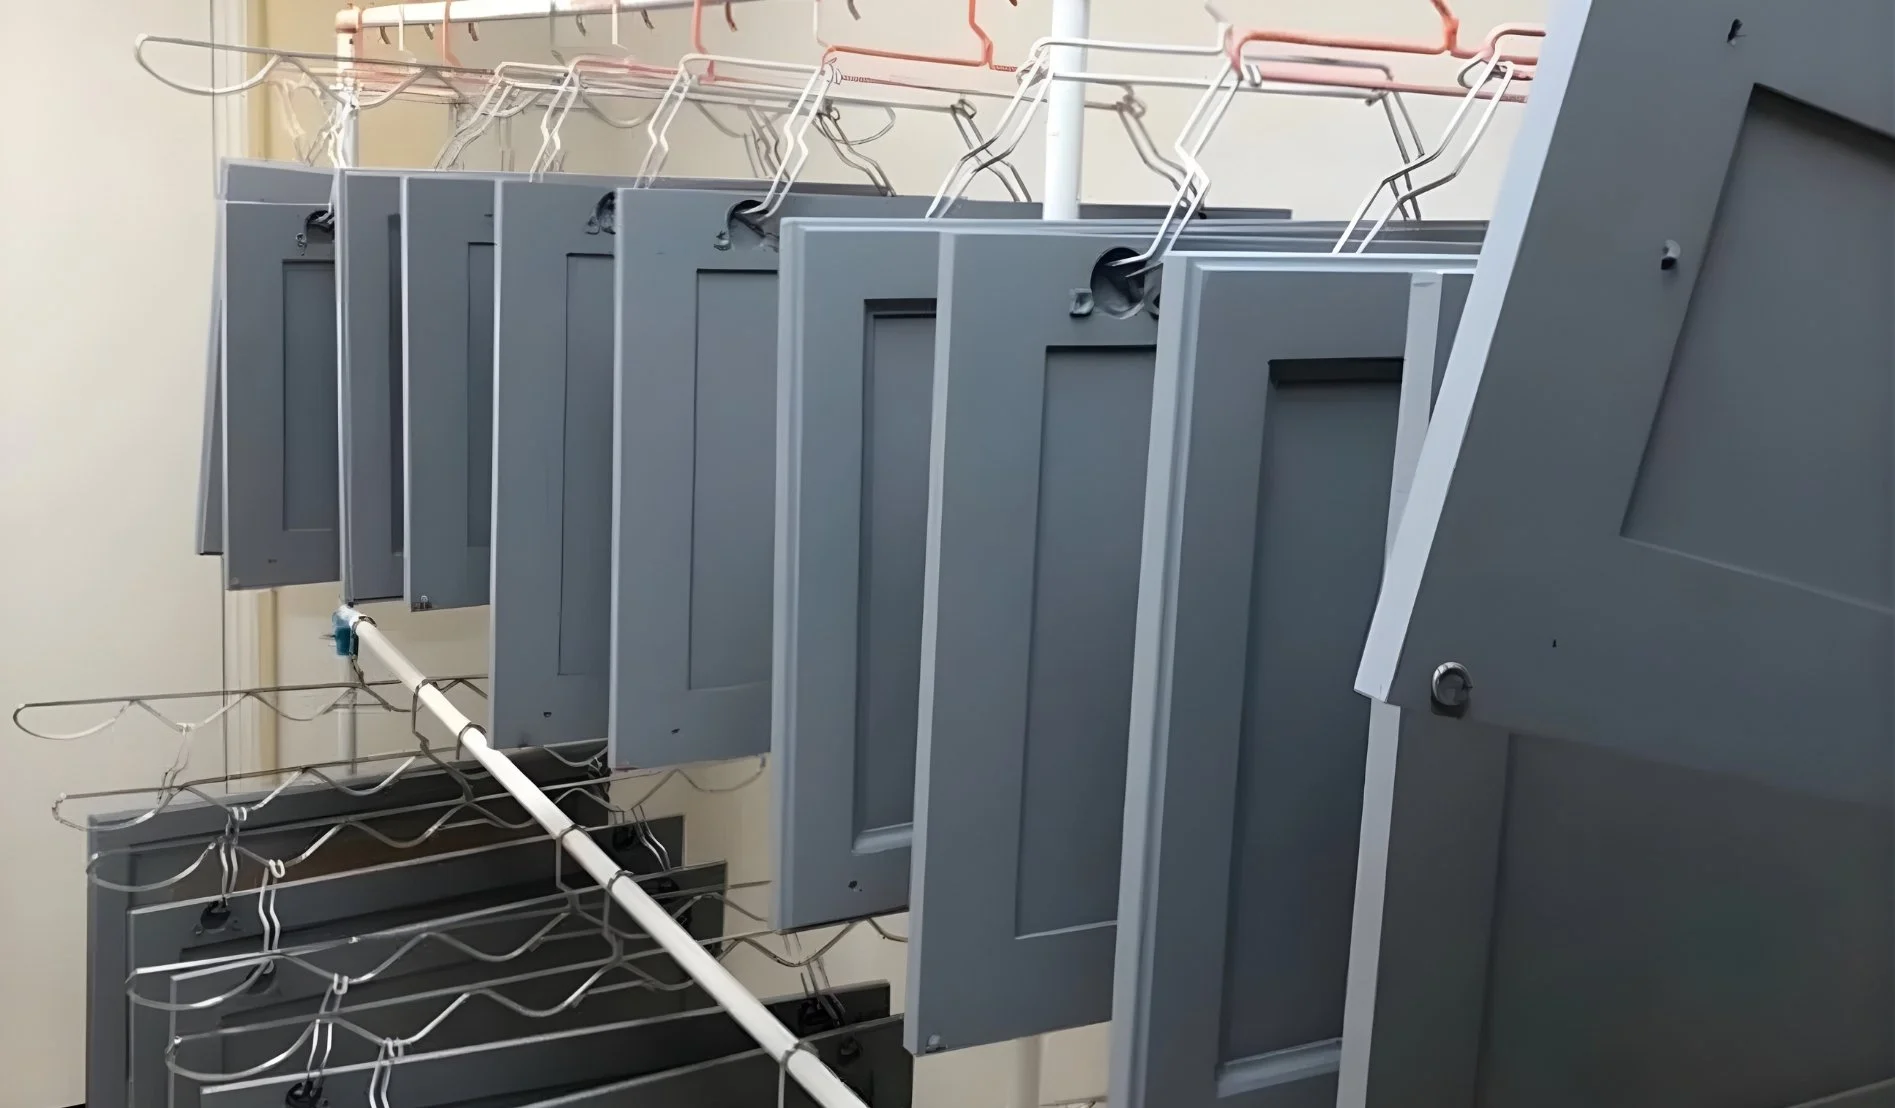
Build the finish in layers. We apply two coats of primer and a finish coat, sprayed on site in a vacuum-vented spray booth with portable drying racks, for a smooth, factory-level result.
Primer Choice and Oil-to-Waterborne Changes
Many older homes have oil-based paint on trim and cabinets. If the new finish is waterborne and the old surface isn’t prepared and primed correctly, it can peel. When trim has latex over oil that’s already peeling, we use an oil-based primer first, then a waterborne topcoat. Where we use oil-based products indoors, the work is vacuum-vented and protected.
Repair vs. Failure
Not every problem is a blemish. A dent, a nail hole, or a hairline crack is damage, and it’s repaired. A finish that’s peeling or delaminating has failed, and touching it up won’t last. The whole surface needs to be taken back to stable substrate and refinished. Knowing which one you have is part of the evaluation.
What This Looks Like in Practice
On interior repaints, our scope typically includes drywall repair, patching, filling nail holes, light sanding, and masking, and we talk through your expectations for the wall finish before work starts. Rooms are protected with rosin paper and plastic encapsulation, so dust stays where it belongs, and kitchens are always fully encapsulated and vacuum-vented. If we open a wall or remove old material and find hidden damage, we stop and discuss it with you before anything changes.
This preparation is why we can back qualifying interior repaints and cabinet finishing with the You’re In Good Hands Guarantee, a lifetime warranty at no extra cost.

Frequently Asked Questions
Do you have to fill nail holes and cracks before painting?
Yes. Paint doesn’t fill or hide them, and it often highlights them. Repairs should be filled, sanded, and primed first.
Why do patched spots show through new paint?
Patch material absorbs paint differently than the wall around it. Without primer, the repair can look dull or blotchy under the finish coat, a problem called flashing.
Why does paint peel off trim or cabinets?
Usually because of poor prep or a mismatch between old and new paint layers, such as waterborne paint over oil without the right primer, or paint applied over grease that wasn’t fully removed.
How do you prep cabinets for painting?
We degrease, repair, sand, apply a bonding primer, then build the finish with two primer coats and a finish coat, all on site in a vacuum-vented spray booth.
Can you touch up a small area instead of repainting the whole wall?
Sometimes, but a touch-up rarely matches a wall that has aged. For a repaint, we prepare and finish the full surface so the result looks consistent.
Do you serve my area?
Our residential work is centered on Little Rock, North Little Rock, Maumelle, Conway, Cammack Village, and Roland, and we take on other Central Arkansas projects selectively.
Start With a Conversation
If your walls, trim, or cabinets need more than a fresh coat, we’ll look at what’s underneath and tell you what the project requires. Schedule a private consultation to see if your project is the right fit.
